Have an ungridded river map but want to use hex-based movement at the table? Upload the existing image to Map Gridder, choose Hexagons, adjust the cell size until the bridge and paths are readable, then download the gridded image. Here is a walkthrough using a real map and an actual export.
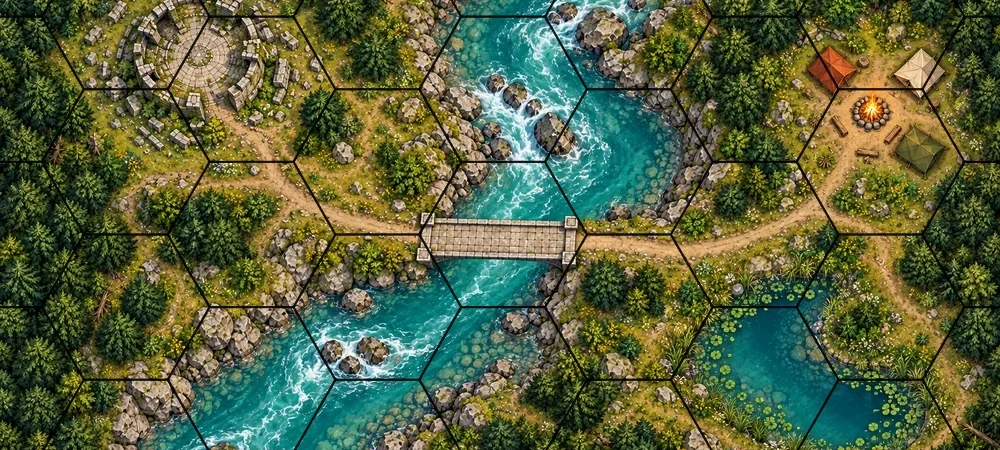
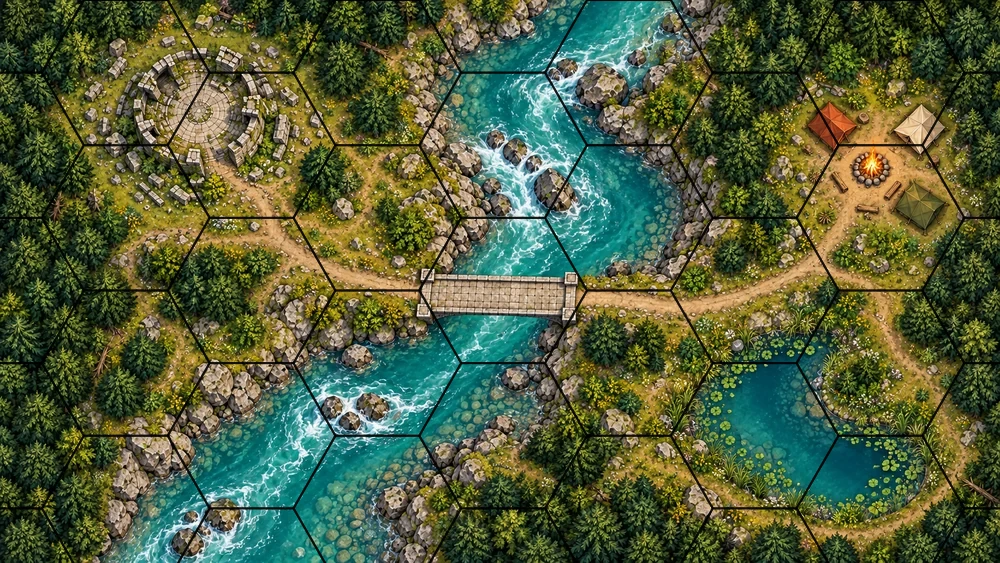
The map below is the actual 1000 × 563-pixel Map Gridder export with an 80-pixel black hex overlay, not a generated mockup.
Why Use Hex Grids for Wilderness and River Encounters?
Squares remain useful for rooms and straight corridors. Hexes can be a convenient alternative when your group prefers six neighboring directions for travel or movement across a winding landscape. Pick the geometry that matches your own system and table rules; the image editor does not decide movement rules for you.
On our river map, the overlay helps you describe three decisions before the encounter:
- Crossing: Decide which cells the stone bridge and nearby banks occupy.
- Approach: Mark a route from the campsite toward the bridge or ruins.
- Terrain: Agree which cells count as water or cover before players move.
To prepare an existing map quickly before session time, you can apply custom overlays directly in your browser using the Map Gridder tool without firing up heavy graphic editing suites.
The Test Map: 1000×563 River Crossing Breakdown
For this walkthrough, we tested an ungridded wilderness battle map measuring 1000 by 563 pixels. The scene depicts several distinct tactical zones:
- A central winding river flanked by a narrow stone bridge.
- A small campsite with tents to the upper right of the bridge.
- Circular stone ruins to the upper left.
- A pond and winding paths that offer alternate approaches.
Cell Size adjusts the grid in image pixels; it does not set an in-game distance. On this 1000 × 563-pixel source image, we entered 80 and checked that the resulting hexes were legible over the bridge and river. Treat this as an example setting, not a universal token scale.
Step-by-Step: Adding the Hex Grid
Here is the workflow tested in a desktop browser:
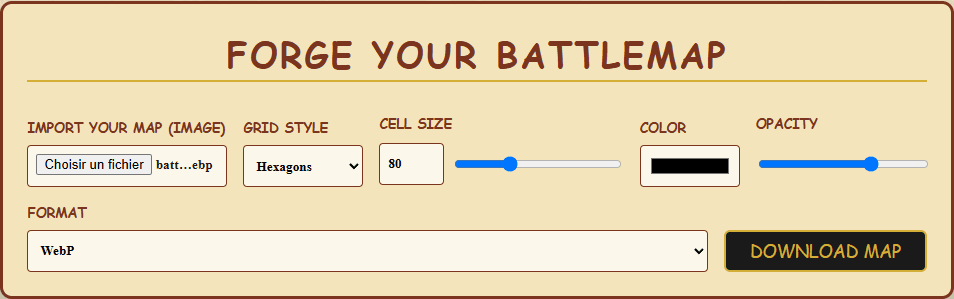
- Import your map: Open Map Gridder and use Import Your Map (Image). The page lists WebP, JPG and PNG; we uploaded our own ungridded WebP map.
- Choose the pattern: Set Grid Style to Hexagons rather than Squares. Inspect the preview over the bridge and paths.
- Set the scale: Enter 80 in Cell Size for this specific image. On another map, adjust the value while viewing the preview; a larger value means fewer cells across the image.
- Check contrast: Our tested export used the default black color and 0.7 opacity. If lines disappear in dark forest or dominate the artwork, use the Color and Opacity controls and review the full preview.
- Export: Select WebP or PNG HD, then click Download Map. We downloaded a WebP with the hexes visibly baked into a 1000 × 563-pixel image.
For the broader questions of map readability and physical versus virtual tabletop preparation, see our table-ready battle map guide. This tutorial stays focused on adding a hex overlay to an image you already have.
Limitations, Canvas Behavior, and GM Troubleshooting
While lightweight web tools are great for fast session prep, keeping practical limitations in mind ensures smooth tabletop execution:
- Two visible grids: The downloaded image contains the drawn hexes; it does not configure another application’s snap grid. If your virtual tabletop also displays a grid, align or hide that separately to avoid conflicting lines.
- Canvas Scaling: The output matches the exact pixel dimensions of your uploaded source (e.g., 1000×563 source outputs a 1000×563 gridded file). Ensure your source image has sufficient resolution before uploading so texturing and line sharpness remain intact when zoomed.
- Terrain Readability: A line color that works over bright water might be hard to see in a dark forest. Inspect both areas and adjust the color or opacity before downloading.
Taking this same hex-gridded river map to a physical table? See our tested A4 printing walkthrough for a four-sheet PDF with no second grid overlay, overlap checks and a real exported page.
For more straightforward utilities designed to streamline your campaign preparation, check out the collection of free GM tools to handle session prep without unnecessary complexity.