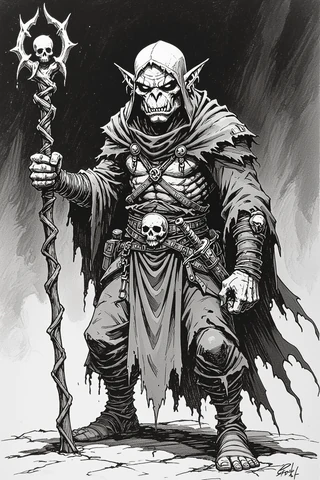
Have you ever found yourself in the middle of an intense tabletop session, and your players are eager to meet a new NPC, but you don’t have a portrait ready? That’s where generative AI comes in! By using tools designed for real-time NPC portrait creation, you can enhance your game flow and immerse your players in the story. In this guide, I’ll walk you through how to harness generative AI for NPC portraits and handouts, ensuring you’re always prepared for those unexpected moments during play.
What you’ll learn in this article
- 🎲1How to create NPC portraits using generative AI in real-time during your sessions.
- ✅2A step-by-step workflow for generating and delivering NPC visuals seamlessly.
- 🔎3Tips for choosing the right AI models and platforms for your needs.
- 🧙4♂️ Techniques for crafting effective prompts that result in high-quality images.
- ✅5Best practices for creating handouts and integrating them into your gameplay.
- 🎲6How to optimize performance and reduce latency when using AI tools in a virtual tabletop (VTT) setting.
- 🎲7Integration into VTTs and live-sharing tools
- 🎲8Performance and latency optimization
- 🎲9Automation, macros, and scripting
- 🎲10Visual consistency & session style guide
- 🎲11Legal, ethical, and privacy considerations
- 🎲12Troubleshooting & common pitfalls
- 🎲13Session-ready templates & GM scripts
- 🎲14Player-facing accessibility & delivery
- 🎲15Resources & complementary tools
1. Real-time workflow: session-ready visual pipeline
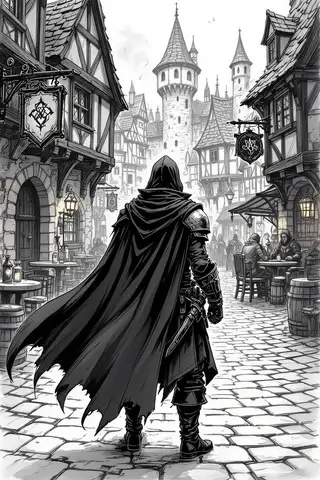
Creating NPC portraits and handouts in real-time can significantly enhance your tabletop gaming experience. A reliable workflow ensures that you can generate visuals quickly, keeping the game flowing seamlessly. To establish a solid visual pipeline, set up a two-tab environment: one for your AI generator and the other for your Virtual Tabletop (VTT) platform, such as Foundry or Roll20. This setup allows you to generate images without interrupting the game too much. I recommend testing your generation tools at the start of each session to ensure everything runs smoothly.
Tip: Pre-configure your prompts and cache generic portraits to minimize interruptions during gameplay. For instance, if you know you’ll need a tavern keeper, generate that portrait before the session begins, so it’s ready when your players ask about the character.
1.1 Minimum viable setup (hardware, internet, software)
To get started with real-time NPC portrait generation, you’ll need a minimum setup that includes a laptop with at least 16GB of RAM, a stable broadband connection (ideally ≥10 Mbps), and optional access to a second monitor or tablet for ease of use. Using browser-based AI generators like CharGen or Pixa, along with an image editor like Photopea or GIMP, will allow you to create and refine your images quickly. Additionally, ensure you have 2–5 GB of free local storage to cache images for quicker access during sessions.
Warning: Avoid using a VPN while generating images, as this can slow down your connection and lead to latency issues. Instead, close any unnecessary tabs to optimize your browser’s performance.
1.2 Step-by-step live session flow (5-step procedure for generating and delivering an image)
Here’s a straightforward workflow to generate and deliver NPC portraits during a session:
- Pause your narration. Let your players know you need a moment to generate a visual.
- Type your prompt. Use a structured prompt that includes the NPC’s role, race, and any defining traits.
- Generate and preview the image. Depending on your chosen tool, this may take anywhere from 5 to 90 seconds.
- Crop or frame the image. Use your image editor to ensure it fits the desired dimensions for your VTT.
- Upload to your VTT or share your screen. If using a second monitor, you can display the image without disturbing your GM view.
Example: During a session, I paused to create a portrait for a mysterious stranger. I typed in a prompt describing the character’s features and emotional state, generated the image in under a minute, and shared it with my players. Their reactions added to the immersion and excitement of the encounter!
2. Choosing models & platforms for live use
Selecting the right models and platforms for generating NPC portraits is crucial for a smooth gaming experience. For real-time generation, cloud-based tools like FLUX, ZSky, and CharGen are excellent for speed, while Midjourney and DALL-E offer higher-quality outputs for pre-session assets. Each tool has its strengths, so choose based on your immediate needs—whether you prioritize speed or artistic quality.
Tip: Consider using a module like “AI Generated NPCs” for Foundry, which automates actor imports, saving you time during sessions. This feature can help streamline your workflow, especially if you frequently need new NPCs.
2.1 On-device vs. cloud models: tradeoffs
When choosing between on-device (local) models and cloud-based options, consider the trade-offs. Cloud GPUs can significantly reduce latency, allowing for faster image generation. However, on-device models may provide you with more control and privacy since you’re not relying on internet connectivity. If you expect to generate images frequently during sessions, investing in a cloud service for reliable performance is ideal.
Warning: If you choose to use on-device models, ensure your hardware meets the necessary specifications. Local models can struggle without adequate resources, leading to slower generation times.
2.2 Recommended models by style: photorealistic, painterly, icon/token
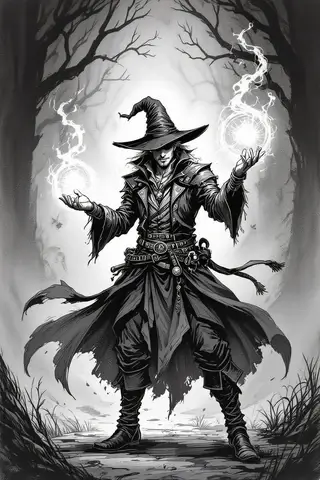
For generating NPC portraits, different styles require different tools. For photorealistic images, I recommend using Midjourney or DALL-E. If you prefer painterly styles, SDXL and Midjourney can produce beautiful results. For icons or tokens, quick generators like CharGen and Pixa are great for speed and efficiency.
Example: If you need a quick token for a character, using CharGen is ideal as it can generate a simple icon quickly. On the other hand, if you want a detailed portrait of your NPC, using DALL-E might take longer but yield a higher quality output that enhances your game’s visual storytelling.
3. Prompt engineering for NPC portraits
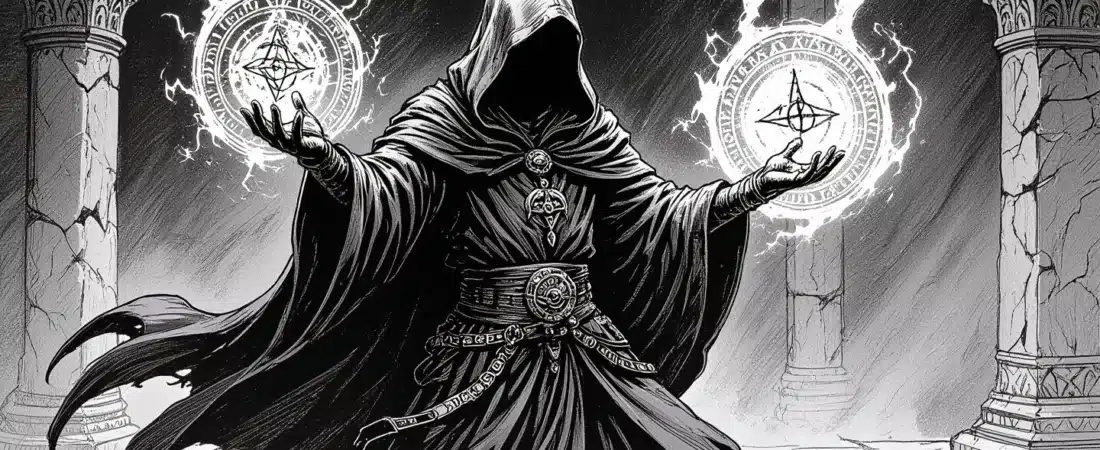
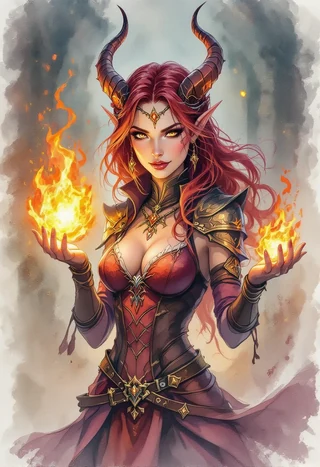
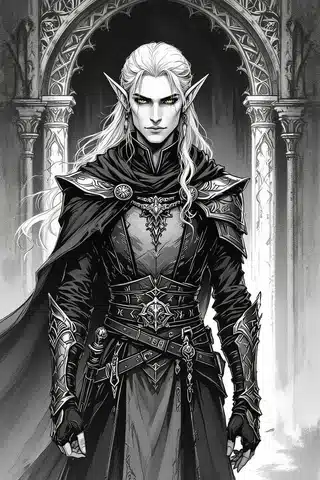
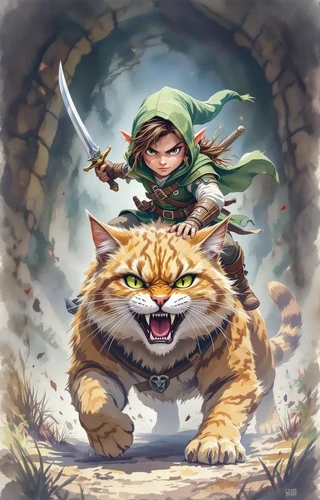
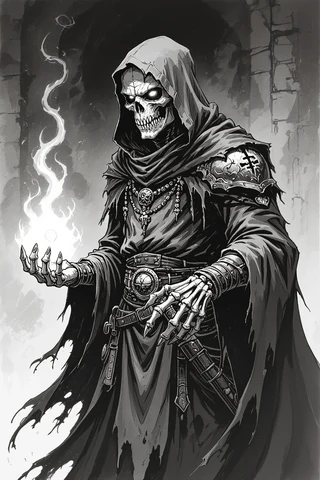
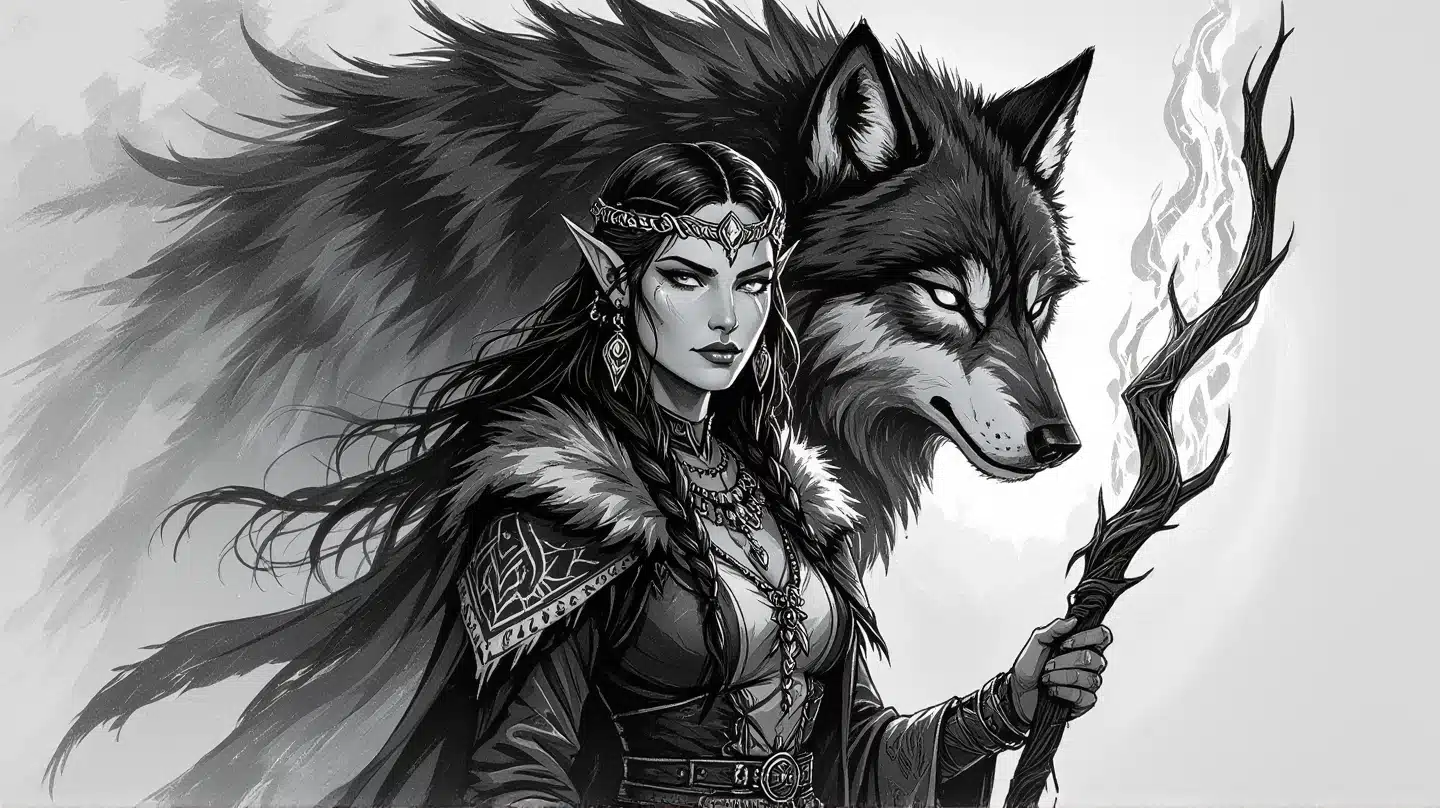
Crafting effective prompts is essential for generating the NPC portraits you envision. A structured prompt should include the character’s role, race, age, visual traits, emotional context, art style, and lighting. For example, you might write: “A young elven rogue with bright green eyes, wearing dark leather armor, looking suspicious under moonlight.” This approach ensures that the AI understands your vision clearly.
Tip: To maintain consistency across your portraits, append a session base prompt or style sheet to each individual prompt. This practice will help align generated images with the overall aesthetic of your campaign.
3.1 Base prompt templates and variation tokens (examples for each style)
Here are some base prompt templates you can use for common NPC archetypes:
- Photorealistic: “A middle-aged male human merchant, wearing a fine cloak and a warm smile, standing in a bustling market.”
- Painterly: “An elven wizard in flowing robes, casting a spell with vibrant colors swirling around him, illuminated by flickering candlelight.”
- Token/Icon: “A simple icon of a rugged dwarf warrior with an axe, minimalist style, set against a transparent background.”
Example: You could use the variation token “add scar on left cheek” to modify an existing prompt if the first output doesn’t capture the character as you imagined.
3.2 Negative prompts and constraint phrases
Negative prompts help refine your images by eliminating unwanted traits or artifacts. For example, you could use phrases like “no extra limbs,” “no blurry features,” or “no cartoonish style.” These constraints ensure that the generated images meet your expectations more closely.
Tip: Always include a set of negative prompts in your workflow to minimize common issues. For instance, if you notice your generated images often have odd anatomy, adding “realistic anatomy only” to your prompts can help improve the output quality.
4. Rapid portrait generation: 4-step procedures and presets
Rapidly generating portraits requires a streamlined procedure that allows you to create images on the fly. Here’s a simple 4-step process:
- Identify the NPC’s key traits. Jot down essential details for your prompt.
- Choose your generator and input the prompt. Use the structured prompt you’ve prepared.
- Generate the image. Depending on your tool, this should take anywhere from a few seconds to a couple of minutes.
- Edit and export the image. Crop or frame it as needed, then save it for your VTT.
Example: I once had to create a portrait for an NPC mid-session. I quickly noted their traits, generated an image using CharGen, and revealed it to my players within a minute, enhancing their engagement with the story.
4.1 Quick portrait workflow for improvisation (3–6 steps)
Here’s a quick workflow for improvising NPC portraits during your session:
- Pause your narrative. Let players know you’ll generate a visual.
- Run your prompt in the AI generator. Ensure it reflects the NPC’s traits.
- Narrate while the generator works. Use established lines to maintain immersion.
- Reveal the image once generated. Share it with your players and update any tokens as necessary.
Tip: Use a “regenerate once” rule. If the first output doesn’t meet your needs, tweak one element of the prompt and try again. If after two attempts the output still isn’t satisfactory, revert to a cached asset.
4.2 Batch portrait creation for pre-session prep
Batch generating portraits before your session can save time and streamline your workflow. Follow this simple routine:
- Pick your archetypes. Decide which characters you need for the session.
- Generate multiple variations for each. Create 3–5 different portraits to choose from.
- Organize and save. Store these images in a dedicated session folder for quick access.
Example: For an upcoming adventure, I batch-generated portraits for key NPCs, creating multiple poses and expressions. This preparation allowed me to focus on the narrative during the session, as I had visuals ready to go.
✨ Discover the Ultimate Tavern Bundle ✨
Stop prepping for hours. Get 350,000+ digital assets to create immersive campaigns instantly.
🎲 Get the Ultimate Toolbox Now
Instant Download • Lifetime Access
5. Handouts and in-game documents: design, sizes, and export
Creating handouts that enhance your game’s immersion is vital. Standard sizes for handouts are A5 (5.8×8.3 inches) for quick prints and A4 (8.3×11.7 inches) for larger documents like posters. Use an image editor like Photopea or GIMP to blend your portraits into templates, and remember to include fantasy-themed fonts, such as Cinzel, to give your documents a cohesive look.
Tip: When exporting handouts, use 300 DPI (dots per inch) for print quality; this ensures that your handouts look sharp and professional. For digital use, PNGs at 72–150 DPI should suffice.
5.1 Templates for letters, wanted posters, maps, and notes (dimensions & fonts)
Here are some quick specs for common handout types:
- Wanted Poster: A4 @ 300 DPI, font size 12-14pt for body text, 28-36pt for headings.
- Identity Letter: A5 @ 300 DPI, use a decorative font for the header.
- Tavern Menu: A4 landscape @ 300 DPI, clear sections for food and drink items.
- Token Card: 1024x1024px @ 72-150 DPI for screens.
Example: You can set up a wanted poster template with fields for the NPC’s name, description, and bounty, ensuring it’s visually appealing and easy to read.
5.2 Printable vs. screen-optimized exports and file formats
When exporting your handouts, it’s essential to choose the right file formats for their intended use. For print, PDFs or TIFFs at 300 DPI are recommended, while for digital use, PNGs or JPEGs at 72–150 DPI work well. Make sure to compress images for VTT uploads, ideally keeping them under 2MB for smooth performance.
Warning: Always check color profiles when exporting. Use sRGB for screens and convert to CMYK for professional printing if necessary to ensure color accuracy.
6. Token creation and framing for VTTs
Creating tokens for Virtual Tabletop (VTT) games like Foundry and Roll20 helps bring your NPCs (non-player characters) to life visually. Tokens can be circular or square, depending on your preference or the requirements of the VTT you are using. For best results, aim for a resolution of 512 to 1024 pixels (px) to ensure clarity without excessive file size; PNG format is recommended due to its support for transparent backgrounds.
Tip: Use a consistent style for your tokens by selecting frames that match the theme of your campaign. For example, a military-themed game might benefit from steel-rimmed tokens, while a fantasy setting could use ornate gold frames.
6.1 Creating circular/square tokens and borders (recommended resolutions)
When creating tokens, the shape can significantly affect the visual appeal and usability in your VTT. Circular tokens are often used for characters, while square tokens can be more suitable for objects or locations. Stick to resolutions of 512px for light play and 1024px for higher quality. For print, consider 2048px if you plan to upscale images for physical use.
Example: If you have a portrait of a tavern keeper, you might create a circular token at 1024px to ensure that the details are clear and visible during gameplay.
To create these tokens effectively, follow these steps:
- Use the Ellipse Tool to create a circular selection around your character’s face in your editing software.
- Apply a stroke to the selection to create a border.
- Export the image as a PNG file to preserve transparency.
- Name your file with a clear structure, such as “NPC_TavernKeeper_token_1024.png,” to keep your assets organized.
6.2 Using token-frame packs (how to apply, example file names)
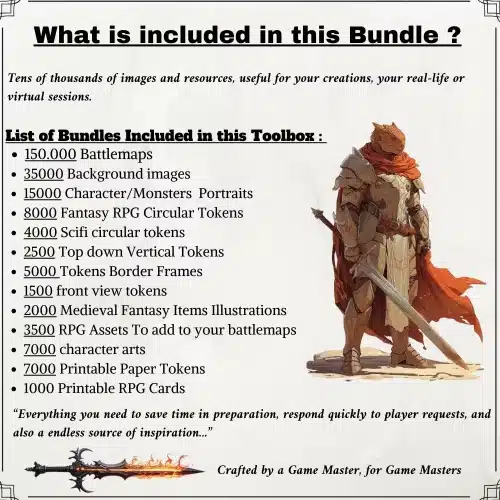
Token-frame packs can add an extra layer of polish to your tokens, making them stand out on the virtual battlefield. These packs often include various styles and designs to match different themes, such as fantasy, sci-fi, or horror. One highly recommended pack is the 6500 Token Borders Bundle available on Etsy, which offers a range of frame styles tailored to different aesthetics.
Warning: When applying frames, ensure that they do not overcrowd the portrait. The focus should remain on the character’s face and essential details.
To apply a token frame to your NPC portrait, you can follow these steps:
- Open your token image in your image editor.
- Import the frame PNG and place it as a new layer above your token.
- Adjust the frame size to fit the token appropriately.
- Export the combined image as a new PNG file, ensuring the frame is included in the final output.
- Use a consistent naming convention like “NPC_TavernKeeper_token_1024_frameGold.png” to keep track of your assets.
By following these steps, you can create visually appealing tokens that enhance the gameplay experience for you and your players.
7. Integration into VTTs and live-sharing tools
Integrating your newly created tokens and portraits into VTT platforms like Foundry, Roll20, and Tabletop Simulator is essential for a smooth gameplay experience. Each platform has its unique import process, but the fundamental goal remains the same: to seamlessly transition from image generation to in-game visuals without disrupting the flow of your session.
Tip: Always test the import process before your session. It’s a good idea to have a few images pre-loaded into your VTT to avoid any last-minute hiccups during gameplay.
7.1 Quick import steps for Foundry, Roll20, and Tabletop Simulator (3–6 steps)
Each VTT has specific steps for importing images, but the process is generally straightforward. Below are the quick import steps for Foundry, Roll20, and Tabletop Simulator.
Example: If you are using Foundry, the process is as follows:
- In Foundry, create a new Actor and select the type (e.g., NPC).
- Import your token image by clicking on the image upload option.
- Drag the image onto the scene to place it.
- Adjust the token settings as needed, such as size and visibility.
- Save changes to ensure the token is correctly set up for gameplay.
For Roll20, the steps are similar:
- Upload your token to the Art Library.
- Drag the token from the library onto your game board.
- Set up token settings to adjust visibility and other parameters.
- Save changes to keep your setup intact for the session.
By following these steps, you can ensure that your NPC portraits and tokens are ready for action when your players arrive.
8. Performance and latency optimization
Minimizing latency during gameplay is crucial for maintaining immersion and keeping the pace of your session flowing smoothly. Factors such as internet speed, the capabilities of your hardware, and the efficiency of your chosen tools can all impact performance. By implementing a few optimization strategies, you can ensure that your AI-generated visuals are delivered promptly.
Tip: Consider using a wired connection instead of Wi-Fi to improve stability and speed during your sessions. This can significantly reduce latency and improve the overall experience.
8.1 Hardware and cloud options to minimize latency
To ensure that your image generation is as fast as possible, consider both your hardware and cloud options. A local setup with a minimum of 16GB of RAM is recommended for basic generation tasks. However, if you plan to generate images frequently during sessions, investing in a cloud GPU (Graphics Processing Unit) can significantly enhance performance.
Warning: If you opt for cloud solutions, be aware of potential costs associated with usage. Some services charge per image generated, which can add up quickly.
When deciding on your hardware or cloud options, consider the following:
- Evaluate your local hardware to determine if it meets the minimum requirements for smooth operation.
- Look into cloud GPU providers that offer short-term credits or pay-as-you-go pricing to minimize upfront costs.
- Test your setup before game night to ensure everything runs smoothly and there are no surprises during the session.
By optimizing your hardware and cloud options, you can achieve lower latency and a more seamless experience during your gameplay.
9. Automation, macros, and scripting
Automating your NPC portrait generation can save you valuable time during sessions, allowing you to focus on storytelling and player engagement. By using macros and scripts, you can streamline the process of generating, saving, and importing images directly into your VTT.
Tip: Familiarize yourself with basic scripting concepts and tools like Tampermonkey or Python to make the most of your automation efforts.
9.1 Example API call macro to generate and save an image (pseudocode)
To give you a clearer idea of how to structure your automation, here’s a pseudocode example for an API call that generates and saves an image:
# Pseudocode for generating and saving an image
prompt = "Generate a portrait of a middle-aged human male tavern keeper"
response = call_API(prompt)  # Call the image generation API
if response.success:
    image = response.image
    save_image(image, "NPC_TavernKeeper_" + current_timestamp() + ".png")  # Save the image with a timestamp
    import_to_VTT("NPC_TavernKeeper_" + current_timestamp() + ".png")  # Import the image into your VTT
else:
    handle_error(response.error)
This example illustrates how to automate the process from generation to import, reducing manual steps and ensuring that you can quickly access your NPC portraits during gameplay.
10. Visual consistency & session style guide
Maintaining a visual consistency across NPC portraits is essential for creating an immersive experience for your players. A well-crafted style guide can help you achieve a cohesive look, making it easier to integrate new images seamlessly into your game. By establishing a clear visual style, you can enhance the narrative and allow players to better connect with the characters in your campaign.
Tip: Consider using a color palette that reflects the tone of your campaign. For example, darker colors may suit a horror setting, while bright, vibrant hues may work well in a whimsical fantasy world.
10.1 Building a visual style sheet (colors, adjectives, prompt base)
A visual style sheet is a practical tool that helps you define and maintain the aesthetic of your campaign. It should include primary colors, secondary accents, and adjectives that describe the overall tone of your game.
Example: For a campaign set in a mystical forest, you might choose deep greens and earthy browns as your primary colors, with accents of gold. Adjectives could include “whimsical,” “mysterious,” and “lush.”
Here’s a simple template to help you create your style sheet:
- Campaign Name: [Your Campaign Name]
- Primary Colors: [Hex Codes]
- Secondary Accents: [Hex Codes]
- Adjectives: [List of Descriptive Words]
- Banned Elements: [e.g., “no modern themes”]
By establishing these guidelines, you can ensure that every NPC you create feels like a part of the same world, enhancing immersion for your players.
10.2 Applying the style sheet to new NPCs (short step procedure)
Once you have your visual style sheet, applying it to new NPCs is a straightforward process. This ensures that every character you generate aligns with the established aesthetic of your campaign.
Warning: Be consistent in applying the style sheet to avoid visual discrepancies that might confuse players.
To apply your style sheet to new NPCs, follow these steps:
- Append the base prompt from your style sheet to your NPC generation prompt.
- Generate two variants of the character to increase your options.
- Apply any necessary edits to align the portraits with your visual style (e.g., color adjustments, frames).
- Save the images with a naming convention that includes the NPC’s name and style tags.
- Organize the files in a style-tagged folder for easy access during gameplay.
By following these steps, you can maintain a cohesive visual identity for your campaign, making it easier for players to connect with the characters and the story.
11. Legal, ethical, and privacy considerations
When using generative AI for creating NPC (non-player character) portraits and handouts, it’s essential to navigate the legal and ethical landscape carefully. First and foremost, you must avoid using real-person likenesses without consent. This means that if you intend to generate images that resemble your players or other identifiable people, you should ask for their permission beforehand. Additionally, it’s crucial to review the Terms of Use (TOU) for the AI models you are using, as many tools have specific guidelines regarding commercial use versus personal use.
Tip: Always inform your players that AI-generated images will be used in your sessions. A simple phrase like, “We may use AI-generated images for NPCs and handouts; please let me know if you’d prefer not to be depicted,” can go a long way in securing consent and preventing misunderstandings.
11.1 Licenses, model TOUs, and player likeness concerns
In addition to obtaining consent, it’s advisable to store AI-generated images locally and delete them after your campaign is finished if players wish for privacy. This practice not only respects player boundaries but also minimizes any potential privacy concerns that might arise from keeping images on cloud servers. Furthermore, consider documenting which tools were used to create images, especially if you plan to publish or share your campaign materials online. This transparency can help mitigate any issues regarding likeness rights or tool attribution.
12. Troubleshooting & common pitfalls
When generating NPC portraits using generative AI, issues can occasionally arise. Common problems include odd artifacts, such as extra limbs or distorted features, which may occur due to the intricacies of the AI model. To tackle these issues, you can use negative prompts (phrases that instruct the AI to avoid certain elements), such as “no extra limbs” or “realistic anatomy,” which help improve the quality of the generated images. If the lighting in the output is not what you expected, you can lock the desired style in your base prompt to minimize drift in the generated images.
Example: If you encounter a portrait with an extra hand, simply add “hands: correct anatomy” to your prompt and regenerate. For lighting issues, include “dramatic low-key lighting” to ensure the portrait aligns with your intended atmosphere.
12.1 Fixing artifacts, odd anatomy, and lighting mismatch
Another common pitfall involves resolution and compression issues, especially when preparing images for different platforms. For example, tokens for virtual tabletop (VTT) games should be at least 512px, while print handouts need to be at 300 DPI (dots per inch). If you find that an image is too large for upload, consider compressing it using tools like TinyPNG, which can help reduce file size without sacrificing quality.
Tip: Always preview your images on a second device before the session to confirm that colors and profiles match your expectations. This simple step can save you from last-minute surprises during gameplay.
13. Session-ready templates & GM scripts
Creating handouts and integrating visuals into your sessions can be streamlined with well-prepared templates and GM scripts. For handouts, you might consider templates for various items such as wanted posters, identity letters, and tavern menus. Each template should include key fields like character name, description, and relevant details to ensure clarity and engagement. For instance, a wanted poster might include sections for the criminal’s name, description, and a reward amount, formatted clearly for easy reading.
Here’s a quick format for a wanted poster template:
- Title: Wanted
- Name: [Character Name]
- Description: [Brief description]
- Reward: [Amount]
Additionally, having a few GM lines ready for introducing visuals can enhance the narrative experience. For example, when revealing a portrait, you could say, “The barkeep eyes you warily—imagine this face as he recounts the tale of the cursed treasure.” This approach not only enriches the storytelling but also makes the reveal feel more integrated into the session.
14. Player-facing accessibility & delivery
Ensuring that visuals are accessible to all players is a critical consideration when using generative AI for NPC portraits and handouts. One effective method is to incorporate alt text (descriptive text for images) for all visuals. This helps players who rely on screen readers or those with visual impairments understand the content of the images. For instance, your alt text for a tavern keeper might read, “Portrait: middle-aged human male tavern keeper, scar left cheek, warm candlelight ambiance.”
Example: When creating a wanted poster, include alt text such as “Wanted poster for a female elf thief, described as agile with raven-black hair and a silver necklace.” This descriptive approach ensures that everyone can enjoy the visual elements of your campaign.
14.1 Alt text, printable sizes, and colorblind palettes
Additionally, consider using colorblind-friendly palettes when designing handouts or tokens. Instead of relying on red-green combinations, which can be difficult for some players to differentiate, opt for orange-blue or purple-teal schemes. Testing these palettes with tools like Coblis (Color Blindness Simulator) can help ensure that your visuals are inclusive.
Tip: Always export your images in device-optimized sizes; for mobile users, a width of 800-1200px works best, while tablets and desktops can handle 1200-1920px. This consideration ensures that your assets load quickly and display clearly across all devices.
15. Resources & complementary tools
To facilitate your use of generative AI for NPC portraits and handouts, it’s beneficial to have a curated list of tools and resources at your disposal. For quick portrait generation, I recommend using CharGen (https://char-gen.com) and Pixa (https://www.pixa.com/create/npc-character-generator) for fast, efficient results. If you’re looking for higher-quality images, consider using Midjourney for pre-session polish, while ZSky AI (https://zsky.ai/generate/ai-character-portrait-generator) can provide low-latency options.
Additionally, Photopea (https://www.photopea.com) or GIMP are excellent choices for editing images post-generation, allowing you to fine-tune your visuals before sharing them in your sessions. For VTT integration, look into Foundry AI modules that can automate some of your workflows, making it easier to import NPC images directly into your game.
When it comes to fallback options, having asset bundles from Etsy can save you during latency issues. For instance, the 6500 Token Borders Bundle (https://www.etsy.com/listing/4303053422/6500-token-borders-bundle-rpg-token-frames) is a great resource for framing your tokens professionally, while the Game Master Toolbox (https://www.etsy.com/listing/1565456932/game-master-toolbox-350000-dungeons-and) offers a vast array of assets that can serve as backups during your sessions.
Fox’s take
In conclusion, using generative AI for NPC portraits and handouts can truly elevate your tabletop experience, making your sessions more dynamic and engaging. By following the steps outlined in this guide—setting up your workflow, crafting effective prompts, and integrating visuals into your VTT—you’ll be able to enhance your storytelling and keep your players hooked. So, gather your tools, experiment with your prompts, and get ready to bring your characters to life in ways you never thought possible. Happy gaming!
FAQ
How quickly can I generate a usable NPC portrait during a live session?
You can generate a portrait in 5 to 90 seconds, depending on the AI tool.
What settings and file formats work best for handouts intended for both print and VTT?
Use A4 or A5 sizes at 300 DPI for print and PNGs at 72–150 DPI for VTT.
How do I keep a consistent visual style across portraits produced by different models?
Create a base prompt with specific adjectives and color palettes to ensure consistency.
Are there legal or ethical issues when generating portraits based on player descriptions?
Yes, always obtain consent and review AI model Terms of Use to avoid issues.
What fallback options should I have if the image generator fails mid-session?
Have pre-generated portraits or stock assets ready as backups for smooth gameplay.
Continue reading
- Real-Time Visuals: How to Use Generative AI for NPC Portraits and Handouts During Play
Use generative AI NPC portraits to create on-the-fly character portraits and handouts during sessions—practical workflows & tools. - How to use DnD Beyond?
Learn how to use D&D Beyond: step-by-step character builds, campaign management, and VTT integrations like Beyond20 in one practical guide.